
How to Connect the QuickBooks Online MCP Server to Codex
Add Intuit's QuickBooks Online MCP server to Codex through the built-in Plugins form or a manual config.toml edit, with safer read-only defaults.
On this page +
This guide covers one step: wiring an already-built QuickBooks Online MCP server into Codex.
If you haven’t cloned, built, and authenticated the server yet, start with How to Set Up the QuickBooks Online MCP Server Locally. Come back here once you have a built dist/index.js and a filled-in .env with your Client ID, Client Secret, refresh token, and realm ID.
Unlike Claude Desktop, which only offers a JSON config file to hand-edit, Codex has a dedicated form for adding MCP servers. That’s the route this guide leads with. A manual config.toml edit still works too, covered further down for anyone who prefers text config or is scripting the setup across machines. Prefer not to run a local server at all? A QuickBooks MCP connector like Kipper skips the build and config entirely.
Add the server through Settings → Plugins
Open Settings → Plugins, switch to the MCPs tab, and click Add server.
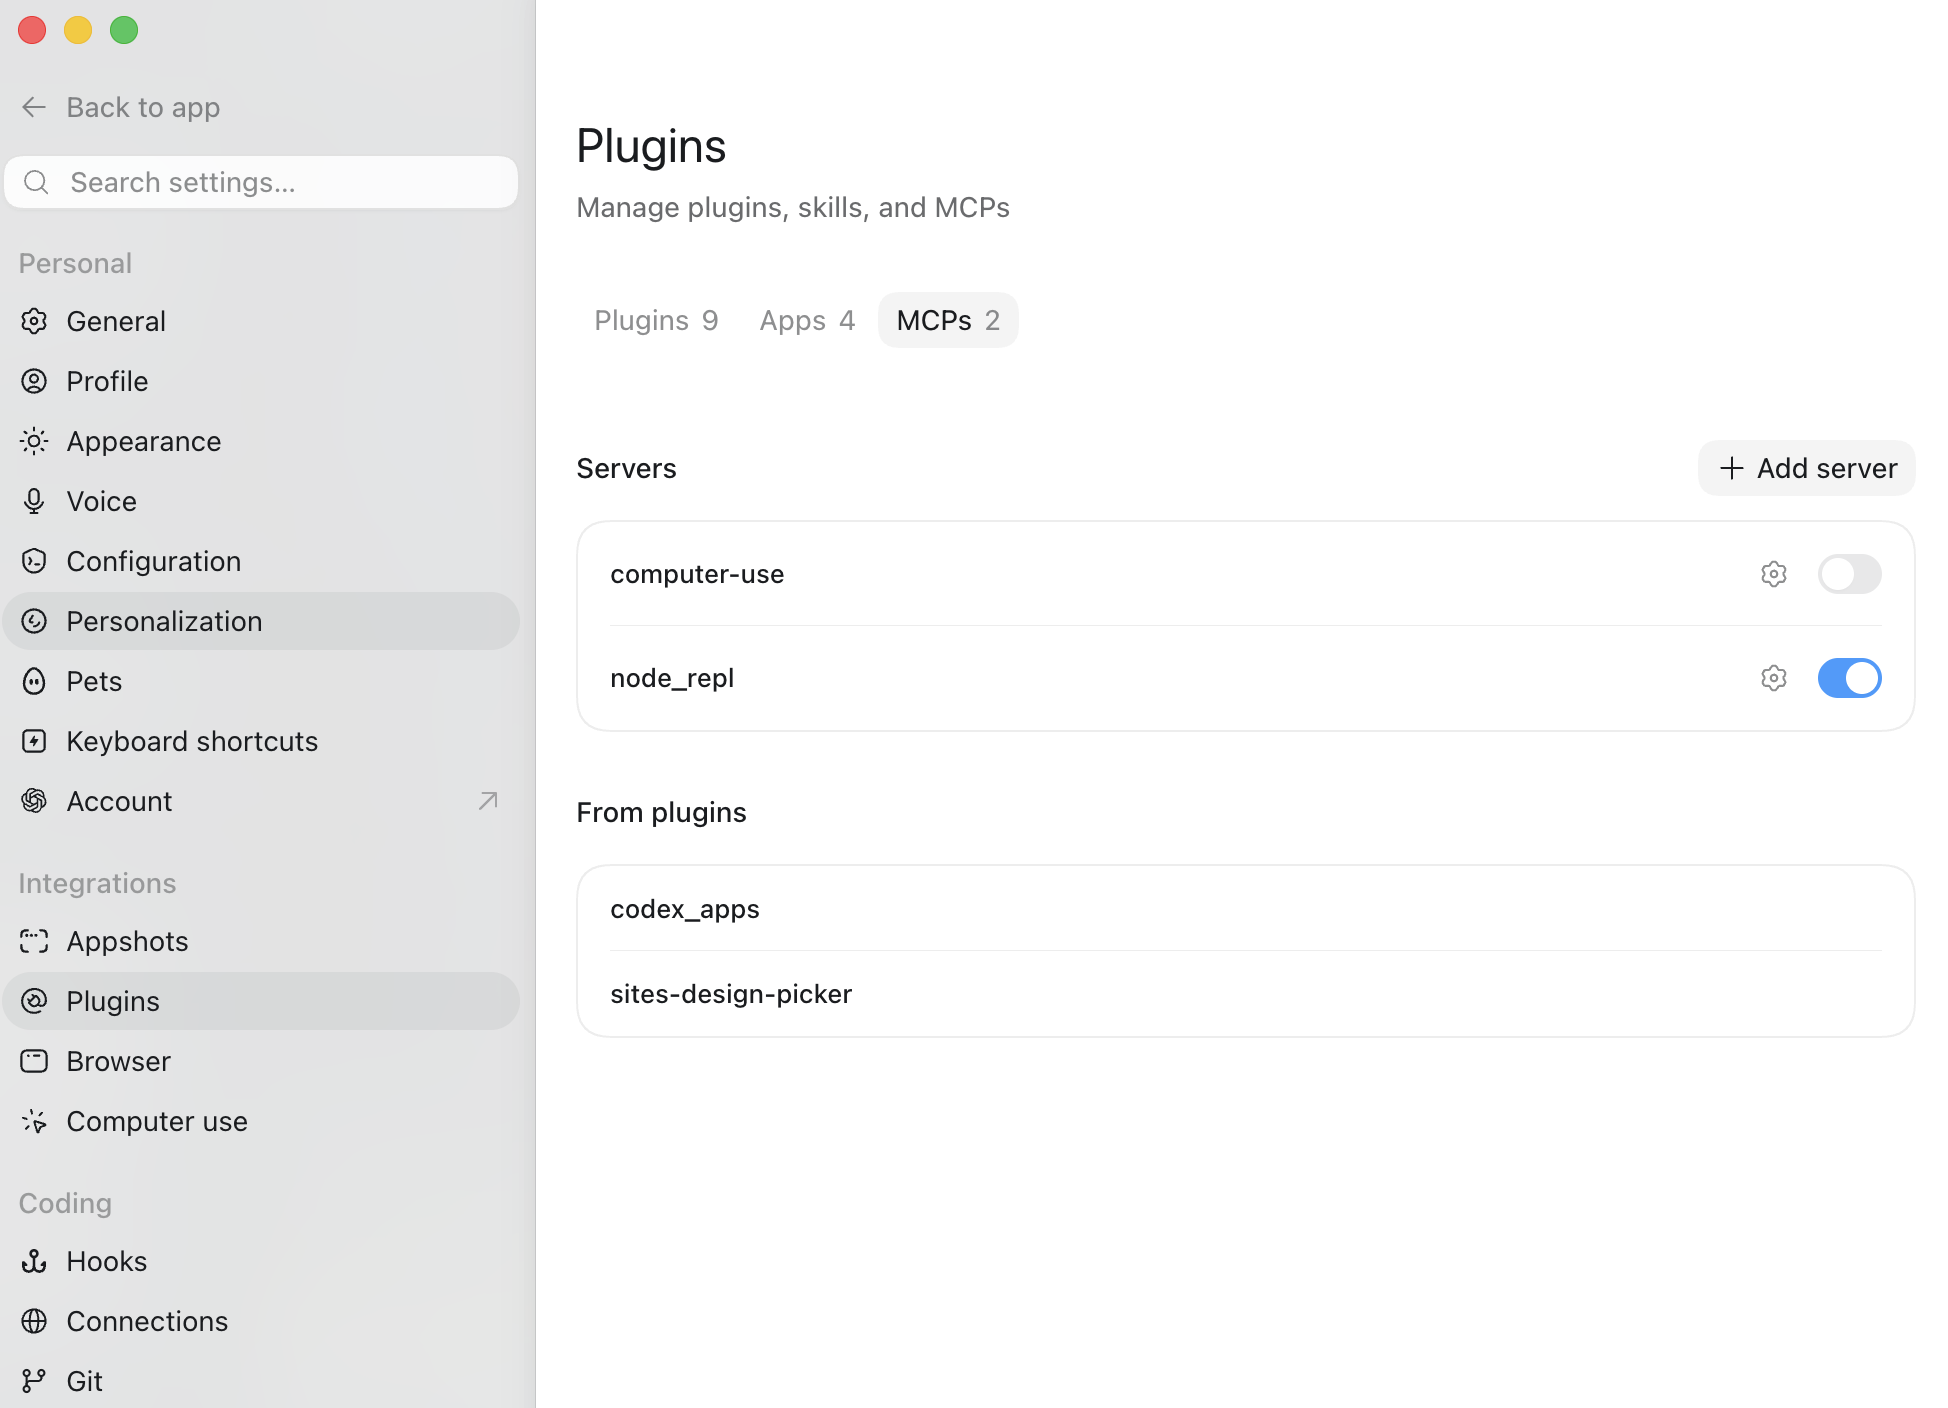 Settings → Plugins → MCPs lists every server Codex knows about, alongside an Add server button.
This opens a “Connect to a custom MCP” form. Set Type to STDIO (the other option, Streamable HTTP, is for remote servers, not a local build like this one) then fill in:
| Field | Value |
|---|---|
| Name | quickbooks |
| Command to launch | node |
| Arguments | /absolute/path/to/quickbooks-online-mcp-server/dist/index.js |
| Environment variables | QUICKBOOKS_CLIENT_ID, QUICKBOOKS_CLIENT_SECRET, QUICKBOOKS_REFRESH_TOKEN, QUICKBOOKS_REALM_ID, QUICKBOOKS_ENVIRONMENT=sandbox, QUICKBOOKS_DISABLE_WRITE=true, QUICKBOOKS_DISABLE_UPDATE=true, QUICKBOOKS_DISABLE_DELETE=true |
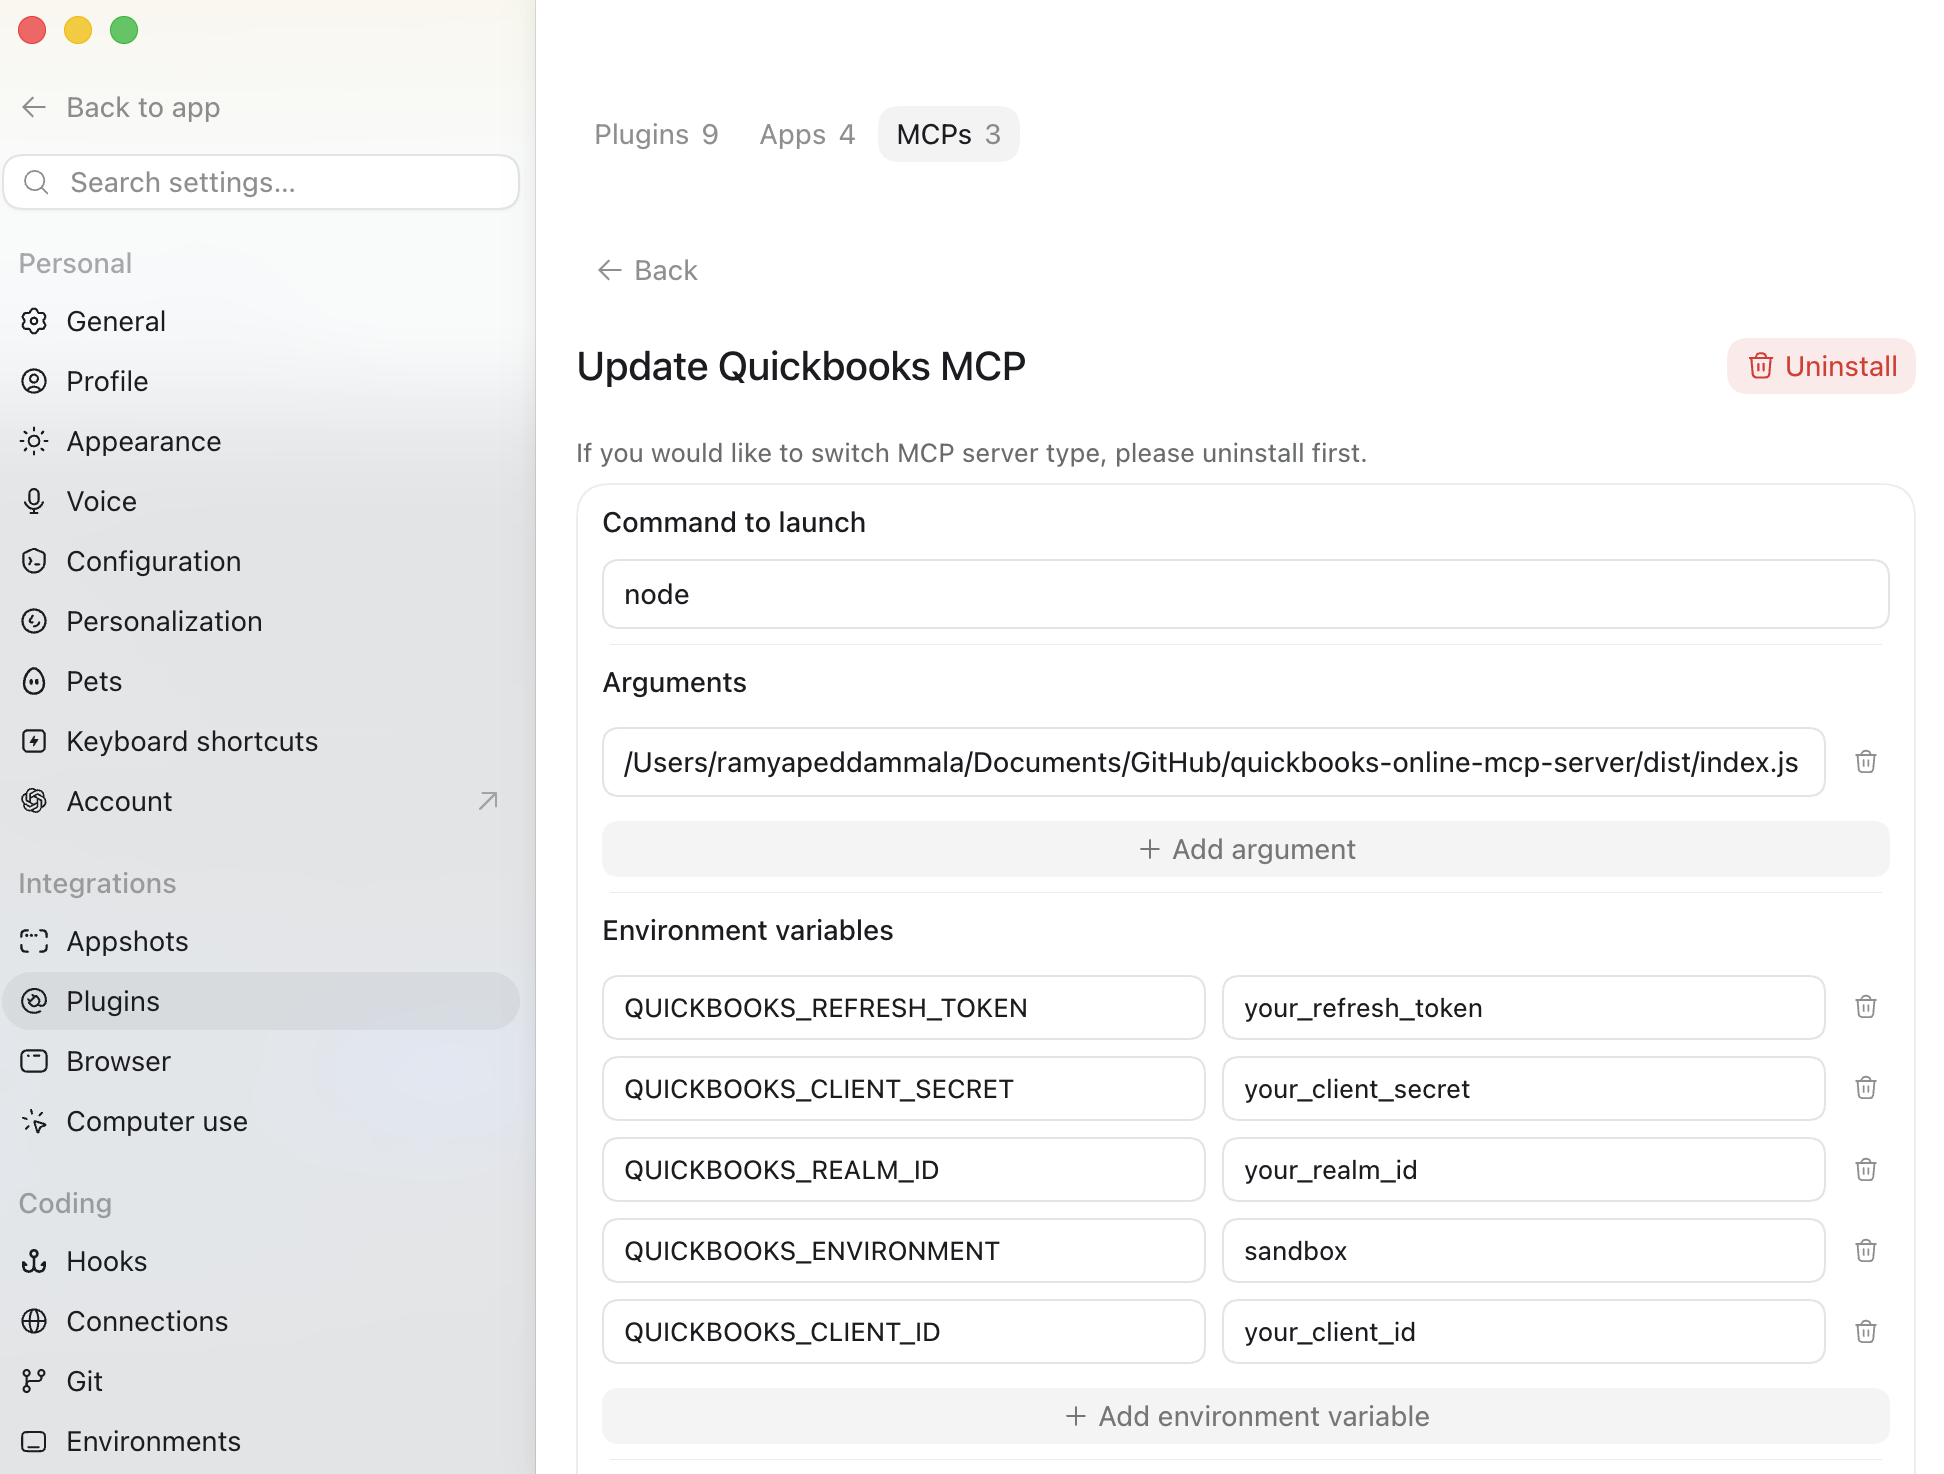 Environment variables are added one row at a time. Use placeholder values here: never screenshot your real Client Secret or refresh token.
As with Claude Desktop, /absolute/path/to/quickbooks-online-mcp-server/dist/index.js is a placeholder. cd into the project folder, run pwd, and append /dist/index.js to get your real path. Working directory can stay blank: you’re passing credentials directly as environment variables in the form, so nothing depends on the process’s current directory. Environment variable passthrough is a separate field for inheriting a named variable from Codex’s own host environment rather than typing in a value; it isn’t needed here since all five QuickBooks values are explicit secrets, not something already sitting in your shell.
The three DISABLE keys are optional (see restricting what the server can do for the full explanation) but this example sets them to true on purpose. Start read-only, confirm the connection works, and only turn write access on later if you explicitly need it.
Click Save.
Editing config.toml directly
The form above just writes to ~/.codex/config.toml, so editing that file by hand works too:
[mcp_servers.quickbooks]
command = "node"
args = ["/absolute/path/to/quickbooks-online-mcp-server/dist/index.js"]

[mcp_servers.quickbooks.env]
QUICKBOOKS_CLIENT_ID = "your_client_id"
QUICKBOOKS_CLIENT_SECRET = "your_client_secret"
QUICKBOOKS_REFRESH_TOKEN = "your_refresh_token"
QUICKBOOKS_REALM_ID = "your_realm_id"
QUICKBOOKS_ENVIRONMENT = "sandbox"
QUICKBOOKS_DISABLE_WRITE = "true"
QUICKBOOKS_DISABLE_UPDATE = "true"
QUICKBOOKS_DISABLE_DELETE = "true"
This is the same TOML file Codex already uses for any other local MCP servers you’ve configured, so add this table alongside them rather than replacing the file. If you go this route, restart Codex afterward to be safe: the GUI route below doesn’t need that.
Verify
No restart needed: unlike Claude Desktop, Codex picks up a newly added server as soon as you save it in the Plugins form. If it isn’t already toggled on in the Servers list, switch it on, then ask a read-only question straightaway.
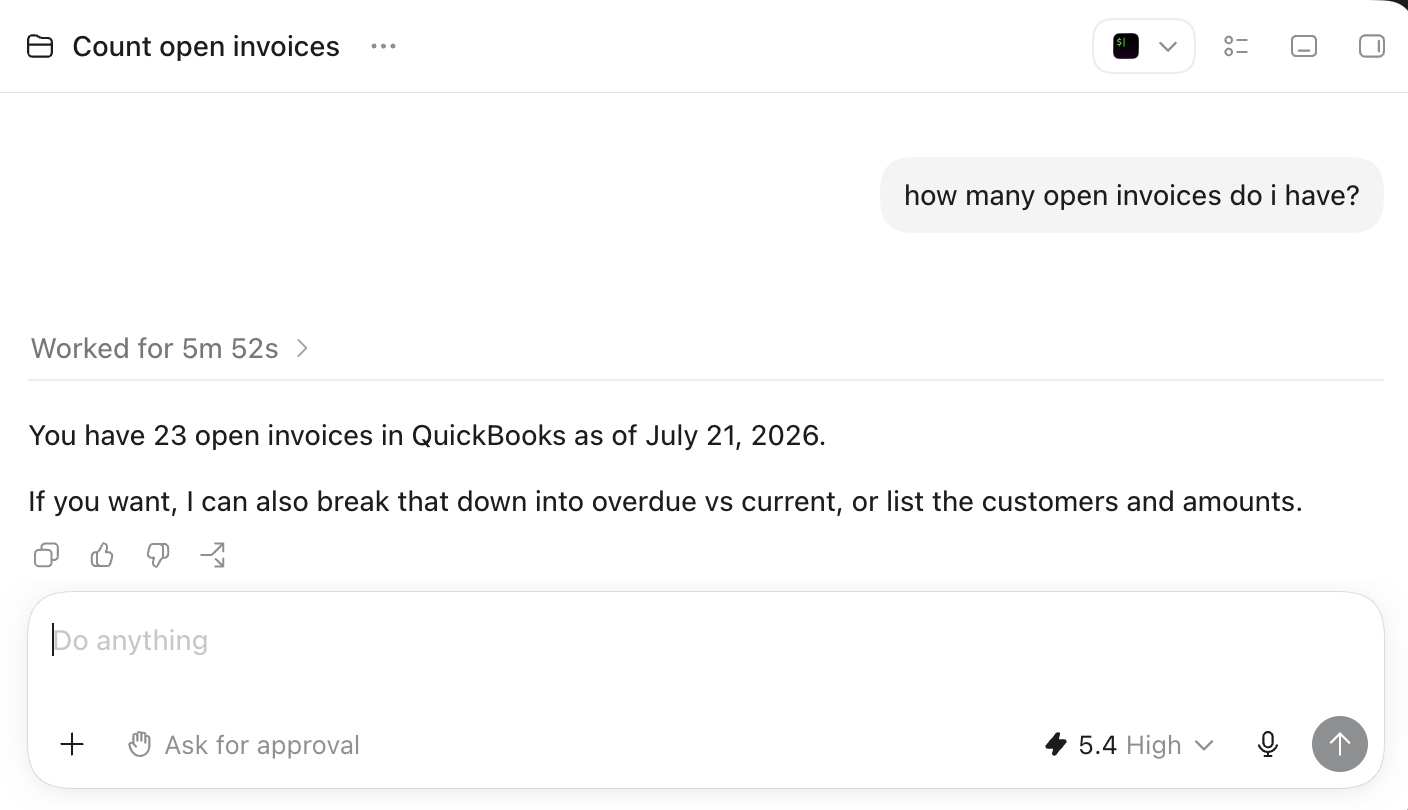 A read-only query returning live data confirms the whole chain works, no app restart required.
Ask something read-only first, company info or a balance sheet, to confirm the connection before considering write access.
Next steps
- Tools not showing up, or hitting
invalid_client? See QuickBooks MCP troubleshooting for the symptom-by-symptom fixes. - Not on sandbox anymore? See setting it up against production for the extra OAuth steps Intuit requires.
- Rolling this out to teammates? See sharing this with a team for the three options and their tradeoffs.
- Using Claude Desktop instead? See How to Connect the QuickBooks Online MCP Server to Claude Desktop for the JSON config route.
- Would rather not run a server locally at all? The hosted QuickBooks Claude connector and QuickBooks ChatGPT connector cover those two clients.
- New to all of this? Our QuickBooks MCP explainer shows how the pieces fit together.