
How to Connect the QuickBooks Online MCP Server to Claude Desktop
Add Intuit's QuickBooks Online MCP server to Claude Desktop with the right config, safer read-only defaults, and a quick verification checklist.
On this page +
This guide covers one step: wiring an already-built QuickBooks Online MCP server into Claude Desktop.
If you haven’t cloned, built, and authenticated the server yet, start with How to Set Up the QuickBooks Online MCP Server Locally. Come back here once you have a built dist/index.js and a filled-in .env with your Client ID, Client Secret, refresh token, and realm ID.
This is the manual JSON route for a developer-defined local MCP server. Claude Desktop also supports packaged desktop extensions from Settings → Extensions, but if you just built Intuit’s repo locally, editing the config file is still the most direct way to test it. Not building anything yourself? Kipper’s QuickBooks MCP server is hosted and connects to Claude without any local setup, and the QuickBooks Claude connector covers that route on its own.
Find and open the config file
Claude Desktop reads its MCP server list from claude_desktop_config.json. Don’t go hunting for it on disk, let the app open it for you: Settings (in the app’s menu, not inside a chat) → Developer tab → Edit Config. This creates the file if it doesn’t exist yet and opens the folder it lives in.
If you’d rather find it directly:
- macOS:
~/Library/Application Support/Claude/claude_desktop_config.json - Windows:
%APPDATA%\Claude\claude_desktop_config.json
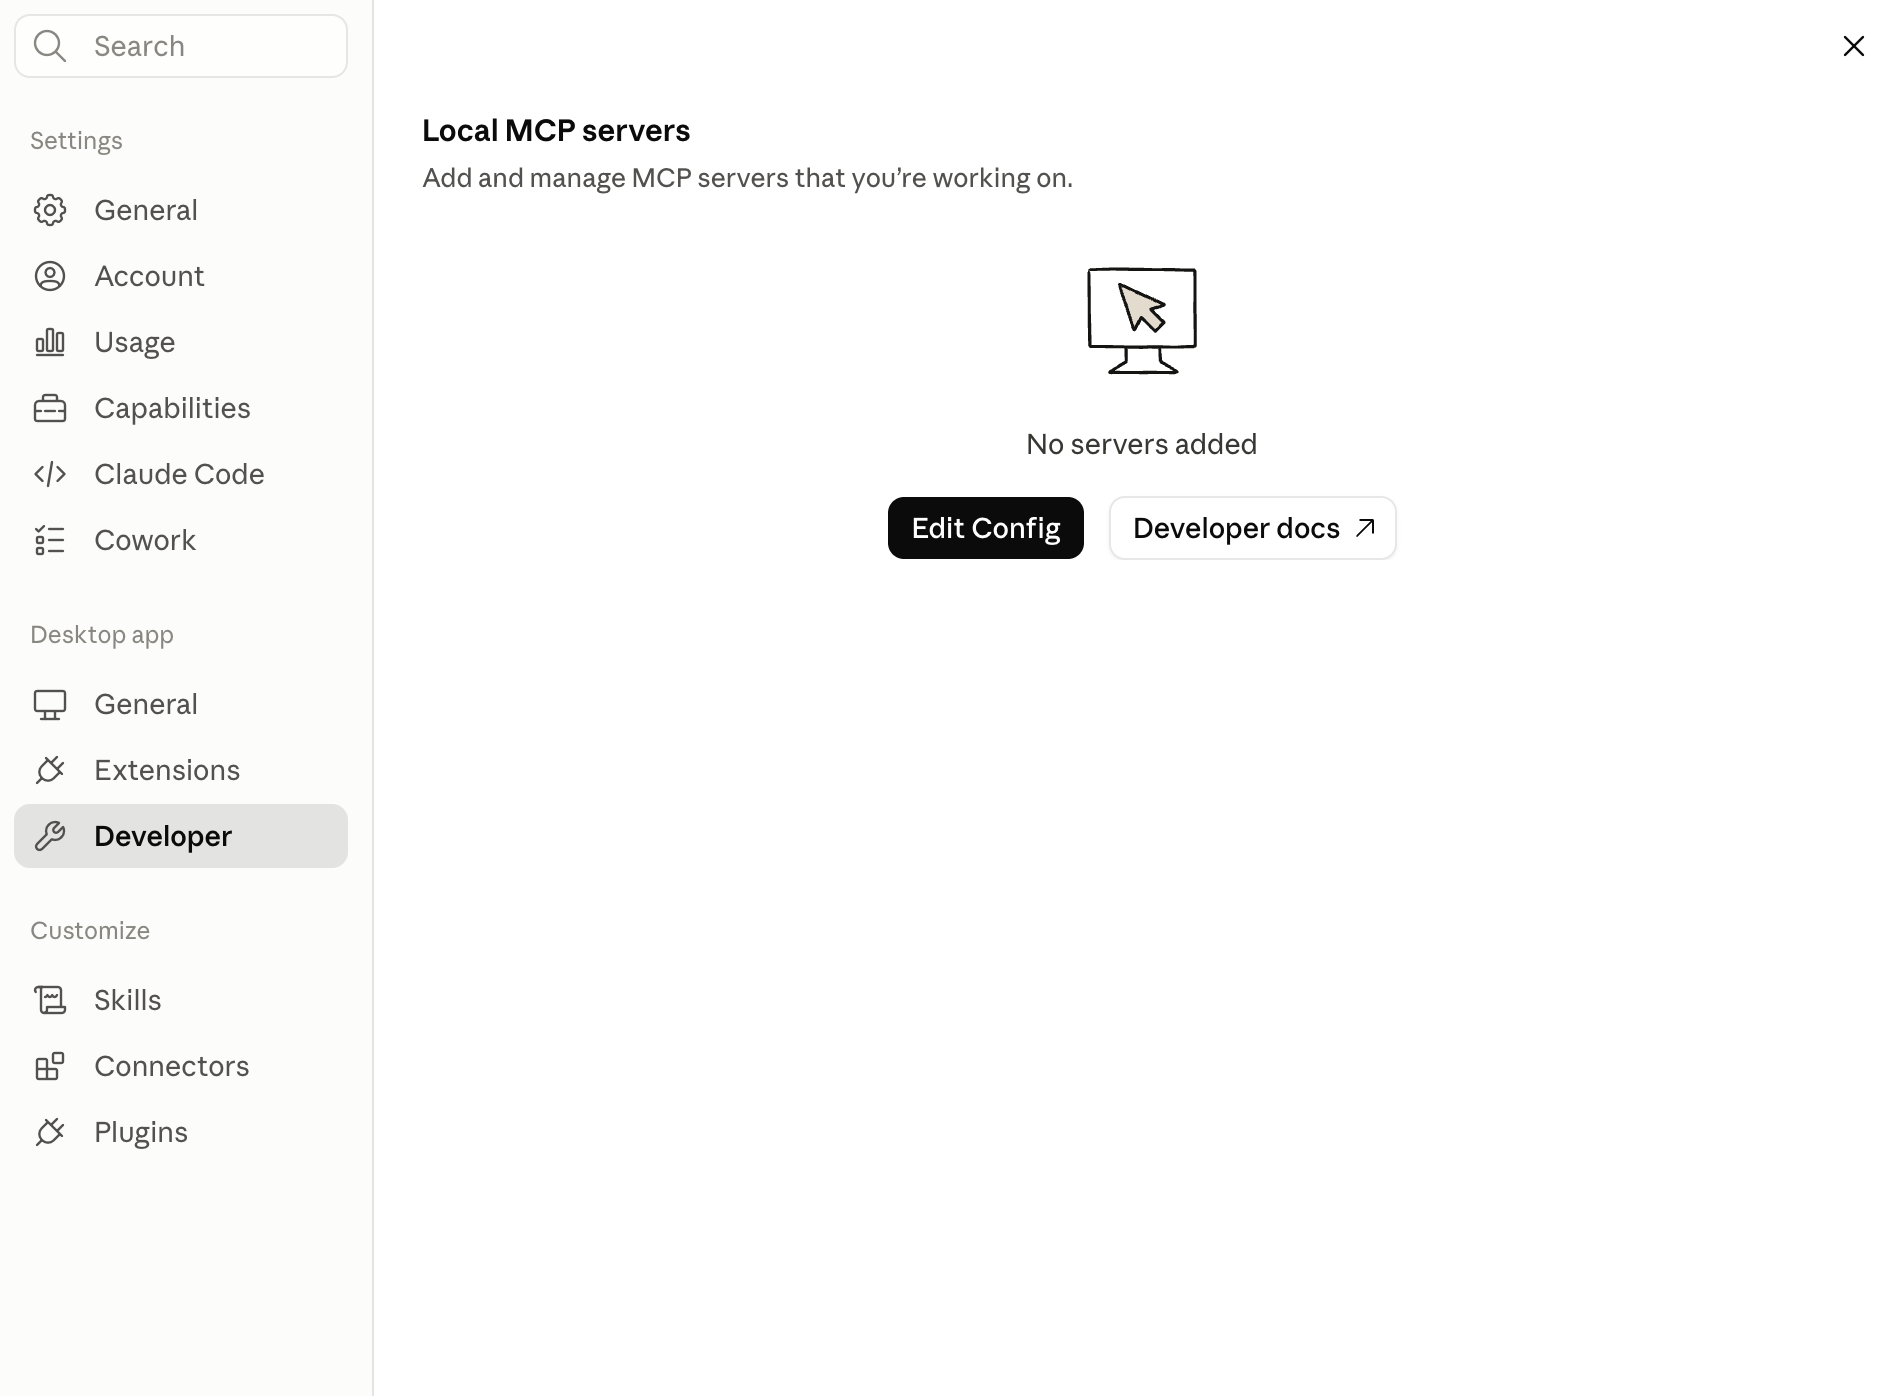 Settings → Developer → Edit Config opens the right file for you.
Add the server block
{
  "mcpServers": {
    "quickbooks": {
      "command": "node",
      "args": [
        "/absolute/path/to/quickbooks-online-mcp-server/dist/index.js"
      ],
      "env": {
        "QUICKBOOKS_CLIENT_ID": "your_client_id",
        "QUICKBOOKS_CLIENT_SECRET": "your_client_secret",
        "QUICKBOOKS_REFRESH_TOKEN": "your_refresh_token",
        "QUICKBOOKS_REALM_ID": "your_realm_id",
        "QUICKBOOKS_ENVIRONMENT": "sandbox",
        "QUICKBOOKS_DISABLE_WRITE": "true",
        "QUICKBOOKS_DISABLE_UPDATE": "true",
        "QUICKBOOKS_DISABLE_DELETE": "true"
      }
    }
  },
  "preferences": {
    "sidebarMode": "chat"
  }
}
/absolute/path/to/quickbooks-online-mcp-server/dist/index.js is a placeholder, not a real path: it needs to point at wherever you actually cloned the repo on your own machine.
The easiest way to get it right: cd into the project folder, run pwd, then append /dist/index.js to whatever that prints.
$ pwd
/Users/you/projects/quickbooks-online-mcp-server

# your args value:
/Users/you/projects/quickbooks-online-mcp-server/dist/index.js
Since this path is specific to your machine, it’s the one line in this whole config you can’t copy from somebody else’s setup.
The three DISABLE keys are optional (see restricting what the server can do for the full explanation) but this example sets them to true on purpose. Start read-only, confirm the connection works, and only turn write access on later if you explicitly need it.
One thing to watch: this file may already contain a preferences block with your existing app settings. mcpServers and preferences are sibling top-level keys in the same JSON file. You’re adding mcpServers alongside whatever is already there, not creating a new file and not replacing anything.
A few more gotchas:
- Use an absolute path in
args, not./dist/index.js. The app isn’t running from your project folder, so a relative path won’t resolve. - Point at
dist/index.js, which meansnpm run buildneeds to have run first. - Prefer the
envblock here over relying on.env. It sidesteps the “resolved relative to the compiled module” pitfall entirely when the desktop app is the one launching the process. - If the file already has an
mcpServersobject with other servers in it, merge your entry in rather than adding a secondmcpServerskey. Leave any existingpreferencesblock untouched. QUICKBOOKS_REDIRECT_URIisn’t needed here. It’s only used duringnpm run auth. Including it is harmless but unnecessary.
Restart and verify
Fully quit Claude Desktop and reopen it. Closing the window isn’t enough; the app needs to actually restart to pick up config changes.
After restart, you can confirm the connection in two places:
- Click the + button in a chat, open Connectors, and look for the quickbooks server and its tools.
- Or go back to Settings → Developer, where Claude Desktop shows local MCP server status and logs.
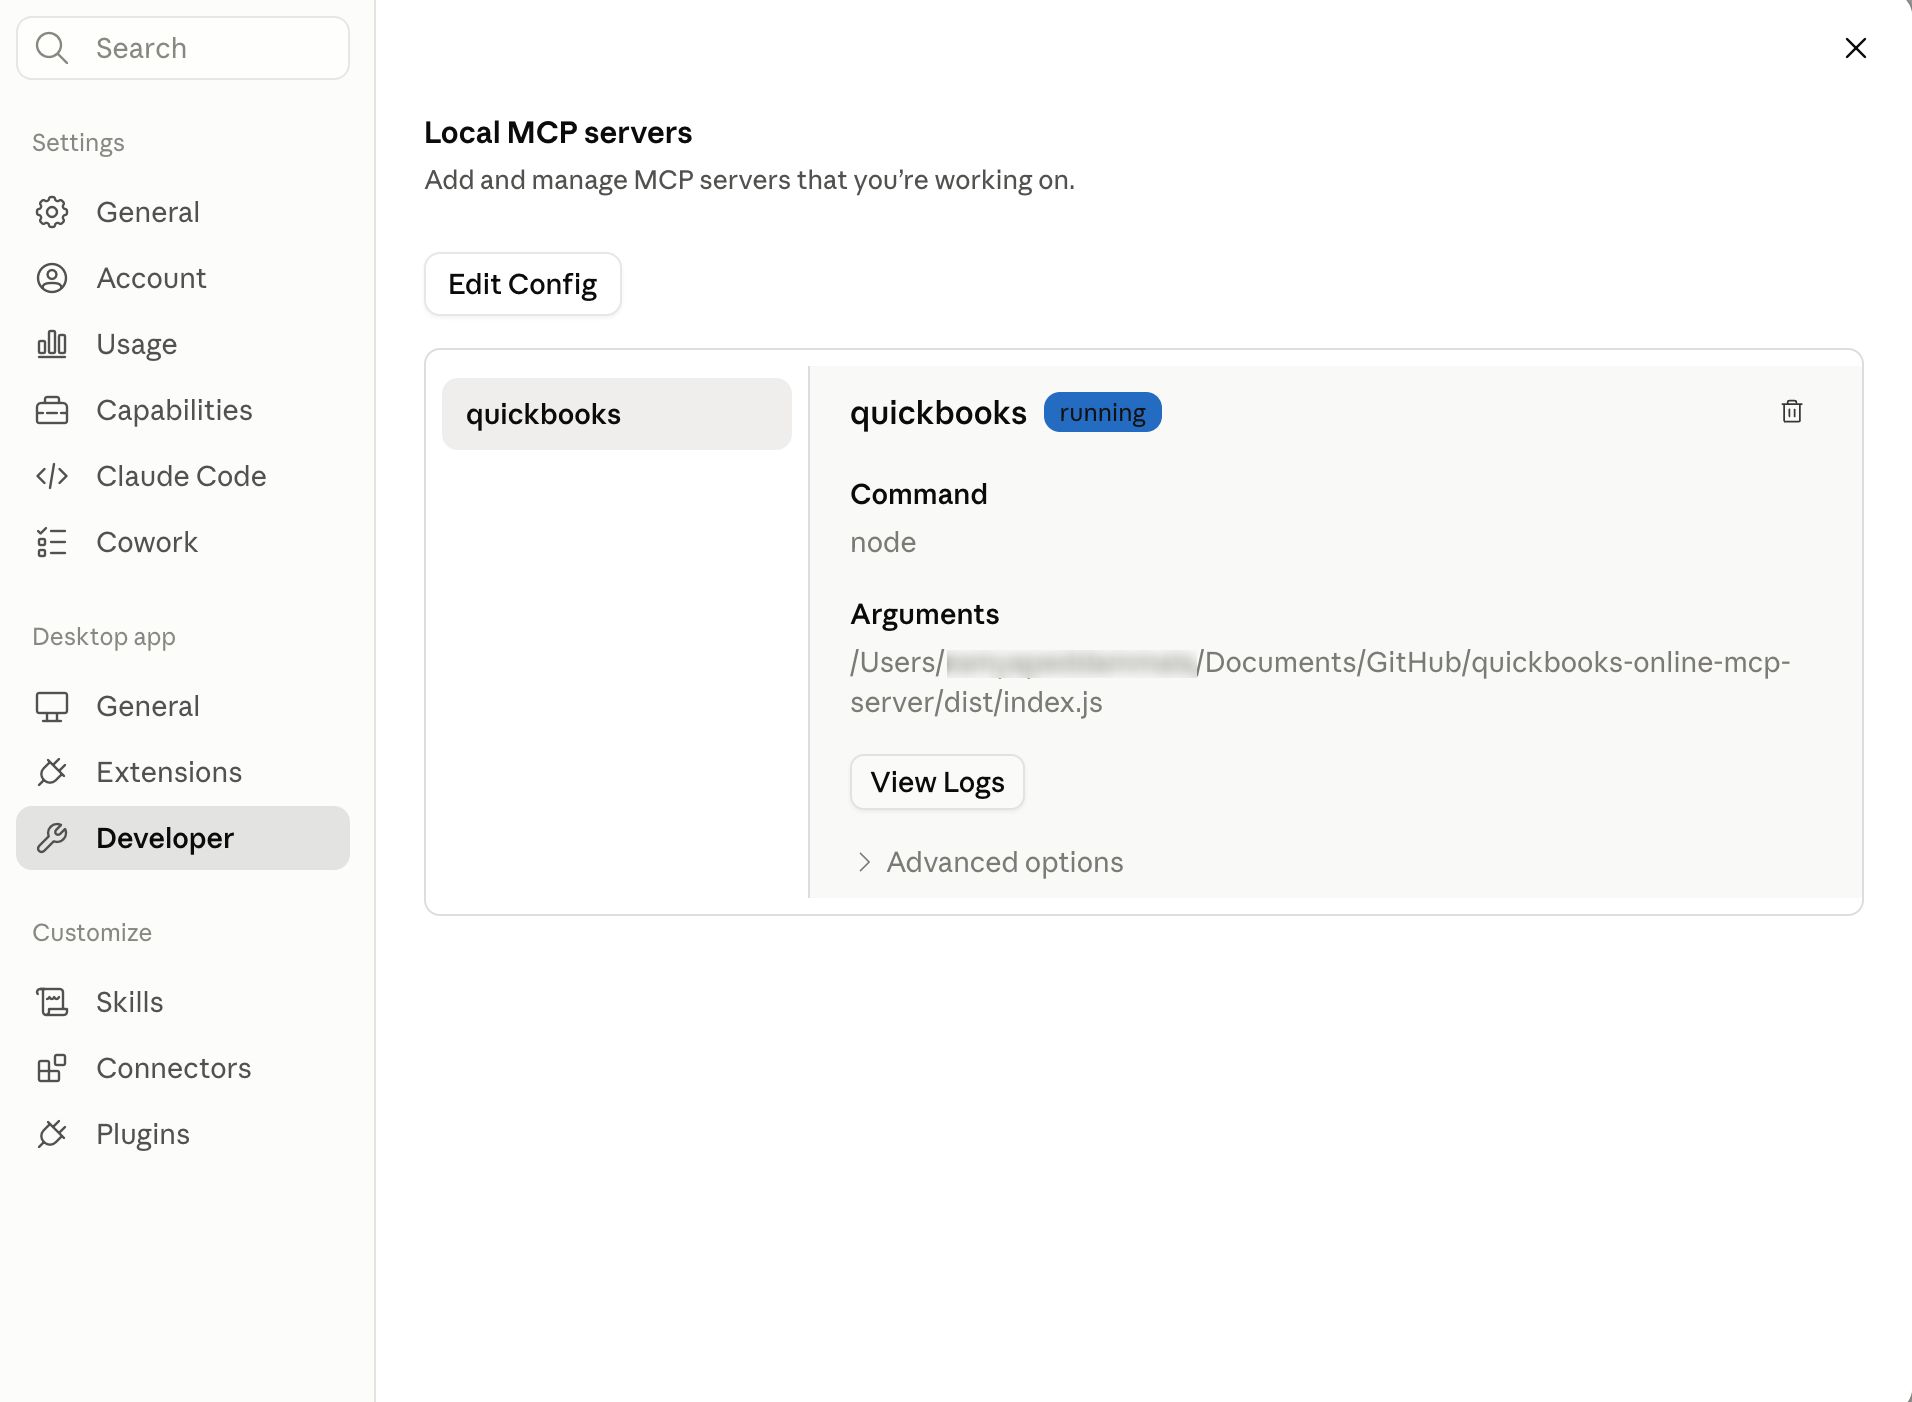 A “running” badge confirms Claude Desktop launched the server successfully with the path and env you configured.
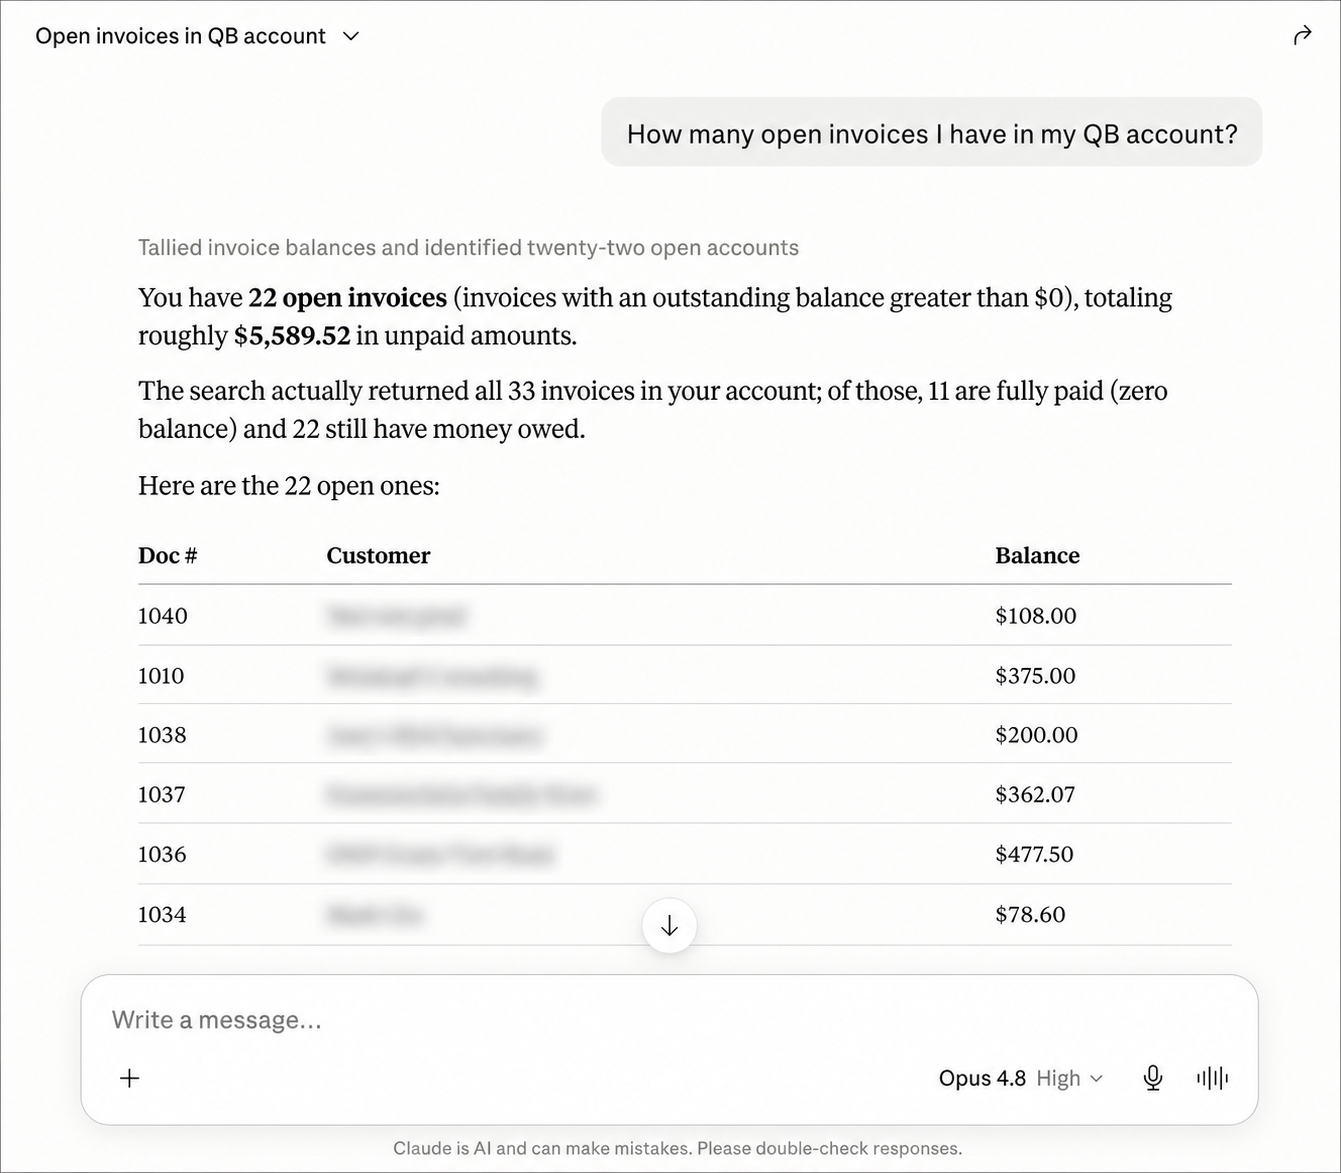 A read-only query returning live data confirms the whole chain works.
Ask something read-only first, company info or a balance sheet, to confirm the connection before trying anything that writes data.
If you’re setting this up for more than just yourself, a newer option is packaging the server as a Claude desktop extension: add a manifest.json, run mcpb pack, and install the resulting .mcpb from Settings → Extensions → Advanced settings → Install Extension…. It’s a smoother path once you’re distributing a server to a team. The config route above is still the simplest path for a server you just built and want to test yourself.
Next steps
- Tools not showing up, or hitting
invalid_client? See QuickBooks MCP troubleshooting for the symptom-by-symptom fixes. - Not on sandbox anymore? See setting it up against production for the extra OAuth steps Intuit requires.
- Rolling this out to teammates? See sharing this with a team for the three options and their tradeoffs.
- Using Codex instead? See How to Connect the QuickBooks Online MCP Server to Codex for the TOML route.
- Want Claude reaching QuickBooks without a local server? The QuickBooks Claude connector is the hosted route, and the ChatGPT equivalent works the same way.
- Using a different MCP client? See How to Set Up the QuickBooks Online MCP Server Locally for the client-agnostic config pattern.
- On QuickBooks Desktop rather than Online? Intuit’s server can’t reach it. See QuickBooks Desktop MCP for Conductor.is, CData, and the roll-your-own routes.
- Want the full landscape? Our guide to QuickBooks MCP covers every server and hosted option side by side.